

Giving yourself an at-home manicure is a fantastic way to achieve salon results on your own schedule. Not only will you save time and money, but you’ll also gain control over your nail care routine and personal style. With the right techniques and preparation, it’s easy to get salon-quality nails at home that last about a week or more. There may be times you want an extra touch of luxury. For special occasions or just some pampering, you can book a manicure at home through a service like Glamsquad, which allows top nail stylists to come to you.
What You Need for a Flawless At-Home Manicure
Before you begin, make sure you have all the best manicure tools and products ready. Preparation is key to an efficient, mess-free manicure. Gather these essentials:
- Nail polish remover and cotton pads/balls: To take off any old polish. Use a non-acetone remover for regular polish to be gentler on natural nails, and save pure acetone for stubborn gels or glitter.
- Nail clippers: For trimming nails to the desired length. Trim straight across, if possible, especially for toenails, to prevent ingrown toenails. Only clip a little at a time to avoid over-shortening.
- Nail file (fine-grit) and buffer: For shaping and smoothing edges. Choose a fine emery board or glass file over coarse or metal files, which can tear the nail. A buffer block helps gently smooth the nail surface and remove minor ridges.
- Cuticle stick (orangewood stick) and cuticle nippers: To push back cuticles and trim hangnails. The stick gently pushes overgrown cuticle skin off the nail plate. Use cuticle nippers only on hangnails or dead skin. Never cut healthy cuticle tissue, as it protects your nail bed.
- Bowl of warm water or cuticle remover: For softening cuticles. A small bowl of warm, soapy water can be used to soak your fingertips, or you can opt for a cuticle softening gel or solution to avoid prolonged soaking.
- Base coat: A clear base polish that prepares the nail for color. It protects nails from staining and helps the color polish adhere better.
- Nail polish: Your color of choice. Have it ready, and gently roll the bottle between your palms to mix.
- Top coat: A clear finishing polish that seals in color and adds shine. This is vital for durability and that glossy, professional look.
- Optional extras: A small angled brush or cotton swabs dipped in remover for cleaning edges, quick-dry drops or spray, and nail treatment products like cuticle oil or nail strengthener for aftercare.
Set up a comfortable workstation with good lighting. It helps to spread a towel or paper on your table to catch spills and clippings. Ensure you have a sturdy, flat surface to work on and try to minimize distractions for the next hour or so.

Step 1: Remove Old Nail Polish
Always begin with a clean slate. If you have old nail polish on, obliterate it before doing anything else. Soak a cotton ball or pad in nail polish remover and press it against the nail for a few seconds to allow the polish to dissolve. Then wipe it off in one firm swipe. This technique reduces the need for harsh scrubbing. Use an additional remover on any remnants around the edges. Nail polish application works best on oil-free, bare nails, so ensure there’s no residual color or oils. After removing the polish, wash your hands and nails with soap and water to eliminate any remover residue, then dry thoroughly.
Step 2: Trim and File Your Nails
Once your nails are polish-free, evaluate their length. If they’re a bit too long or uneven, use nail clippers to trim them to your desired length. Cut straight across or follow the natural curve of your fingertip, depending on the shape you plan to achieve. It’s usually best not to cut nails too short. Leave a small white edge at the tips for protection and aesthetics.
Now it’s time to shape the nails with a file. Ensure your nails are completely dry for this step; filing wet nails can cause splitting. Choose a fine-grit emery board or a glass file, as very coarse files or metal files can cause tiny tears. File each nail in one direction instead of sawing back and forth. Use smooth, long strokes from the side of the nail toward the center tip. This technique prevents the creation of micro-tears and reduces the chance of breakage. Take your time to refine the shape. Common choices are square, round, oval, or the trendy squoval. Avoid extremely sharp or pointy shapes on natural nails, as these can be more prone to snags or breaks. After filing, lightly run a buffer over the nail tips to smooth out any rough edges or layering that may have occurred during the filing process. A smooth edge will resist splitting and feel nicer to the touch. Well-shaped nails are the foundation of a neat manicure, so give this step the attention it deserves.
Step 3: Gently Soak and Soften Cuticles
Next, you’ll want to address your cuticles, the thin layer of skin at the bottom of the nail. It’s easier to work with cuticles when they’re softened. Fill a small bowl with warm water and add a bit of mild soap, a few drops of cuticle oil, or even a spoonful of olive oil. Soak just your fingertips for about 5 minutes to soften the cuticle skin and nail plate. Be careful not to over-soak: five minutes is enough to do the job. Long-wear manicure tip: Some professionals actually skip the water soak entirely to avoid swelling the nail. When nails absorb water, they temporarily expand. As they dry and shrink back, it can cause your fresh polish to chip sooner. If you want your manicure to last, consider using a cuticle softening cream or oil instead of water, or keep your soak very brief.
After soaking, pat your hands dry. Your cuticles should now be pliable and easier to groom. If you used a lot of oil or lotion to wash, quickly swipe each nail with a bit of remover or alcohol to ensure the nail surface isn’t too oily before the next steps. Excess oil on the nail can interfere with polish adhesion later.
Ready to book your next appointment?
Book NowStep 4: Care for Your Cuticles (Don’t Cut Them!)
With cuticles softened, gentle care is essential. Take your orangewood stick or cuticle pusher and gently push the cuticle skin back from the nail plate. Use small circular motions or light strokes; there’s no need to force it. The idea is to nudge back the excess skin that has grown out onto the nail. This makes your nails look longer and creates a clean outline for polishing.
Avoid the temptation to cut your entire cuticle. Trimming living cuticle tissue can lead to nicks, irritation, or infection. Dermatologists warn that cutting this protective skin barrier opens the door for bacteria or fungi to enter, increasing the risk of nasty infections. Instead, only trim hangnails or dead bits of skin that are truly jagged and unattached. If using cuticle nippers, position them carefully and snip only the small tag of dead skin, ever the healthy cuticle attached to the nail. It might not look as instantly “perfect” as a salon that aggressively cuts cuticles, but keeping your cuticles intact will maintain your nails’ health in the long run.
After pushing back cuticles and trimming any hangnails, gently wipe your nails to remove any loose skin. You can use a damp cloth or cotton pad. At this point, your nail beds should look clean with a neat, curved cuticle line. If your cuticles are prone to dryness or cracking, apply a small amount of cuticle oil or cream now.
Step 5: (Optional) Buff the Nail Surface
Buffing is an optional step, but if you have ridges or uneven texture on your nails, a light buff can help your manicure look smoother. A nail buffer is a cushioned file, often with different grit sides, used to sand the nail surface gently. Using the finest grit side, lightly run the buffer in one direction across the nail plate a few times. Focus on areas with ridges or peeling. The goal is just to remove the very top layer of dull or uneven nail, not to thin your nails significantly.
Be careful not to over-buff. Natural nail care is all about moderation. Excessive buffing can strip away the protective keratin layers of your nails, leaving them weak. If your nails are already relatively smooth or thin, you can skip buffing altogether. Some manicurists avoid buffing unless necessary, because it removes the nails’ natural oils and layers.
Step 6: Clean and Prep Nails for Polish
This quick step makes a big difference in how well your polish adheres. After all the cutting, filing, soaking, and buffing, your nails might have traces of dust, oils, or lotion. Any moisture or oil on the nail can prevent polish from sticking properly, leading to chips or peeling later. Take a moment to prepare the nail surface.

Step 7: Apply a Thin Layer of Base Coat
Never skip the base coat if you want a flawless manicure. The base coat is like a primer for your nails: it creates a slightly tacky layer that polish can cling to, and it seals the nail surface. This step is crucial for maintaining nail health and protecting your nails. Apply one thin layer of base coat to each nail. Use just enough to cover the nail evenly. You don’t want it too thick or to pool at the edges. Start a hairline away from the cuticle and brush to the free edge, capping the edge if possible. Capping the free edge with base, color, and top coat helps prevent tip wear. The base coat will usually appear nearly invisible or slightly shiny. Let it dry for a minute or two until it’s slightly tacky but not wet. As it dries, it’s bonding to your nail. Skipping the base coat might save time, but it often means your manicure will chip faster and can leave your nails yellowed.
If you have specific nail concerns, choose a specialized base coat as your nail treatment. There are strengthening base coats for brittle nails, ridge-filling base coats for ridged nails, and so on. These can improve the condition of your nails while also prepping them for polish. Once you’ve applied base coat to all ten nails, give it a moment to set. The base might not be 100% dry, but by the time you finish the tenth nail, you can usually start again at the first with a new color. Just ensure it’s not visibly wet. A slightly tacky base actually helps the colored polish adhere better.
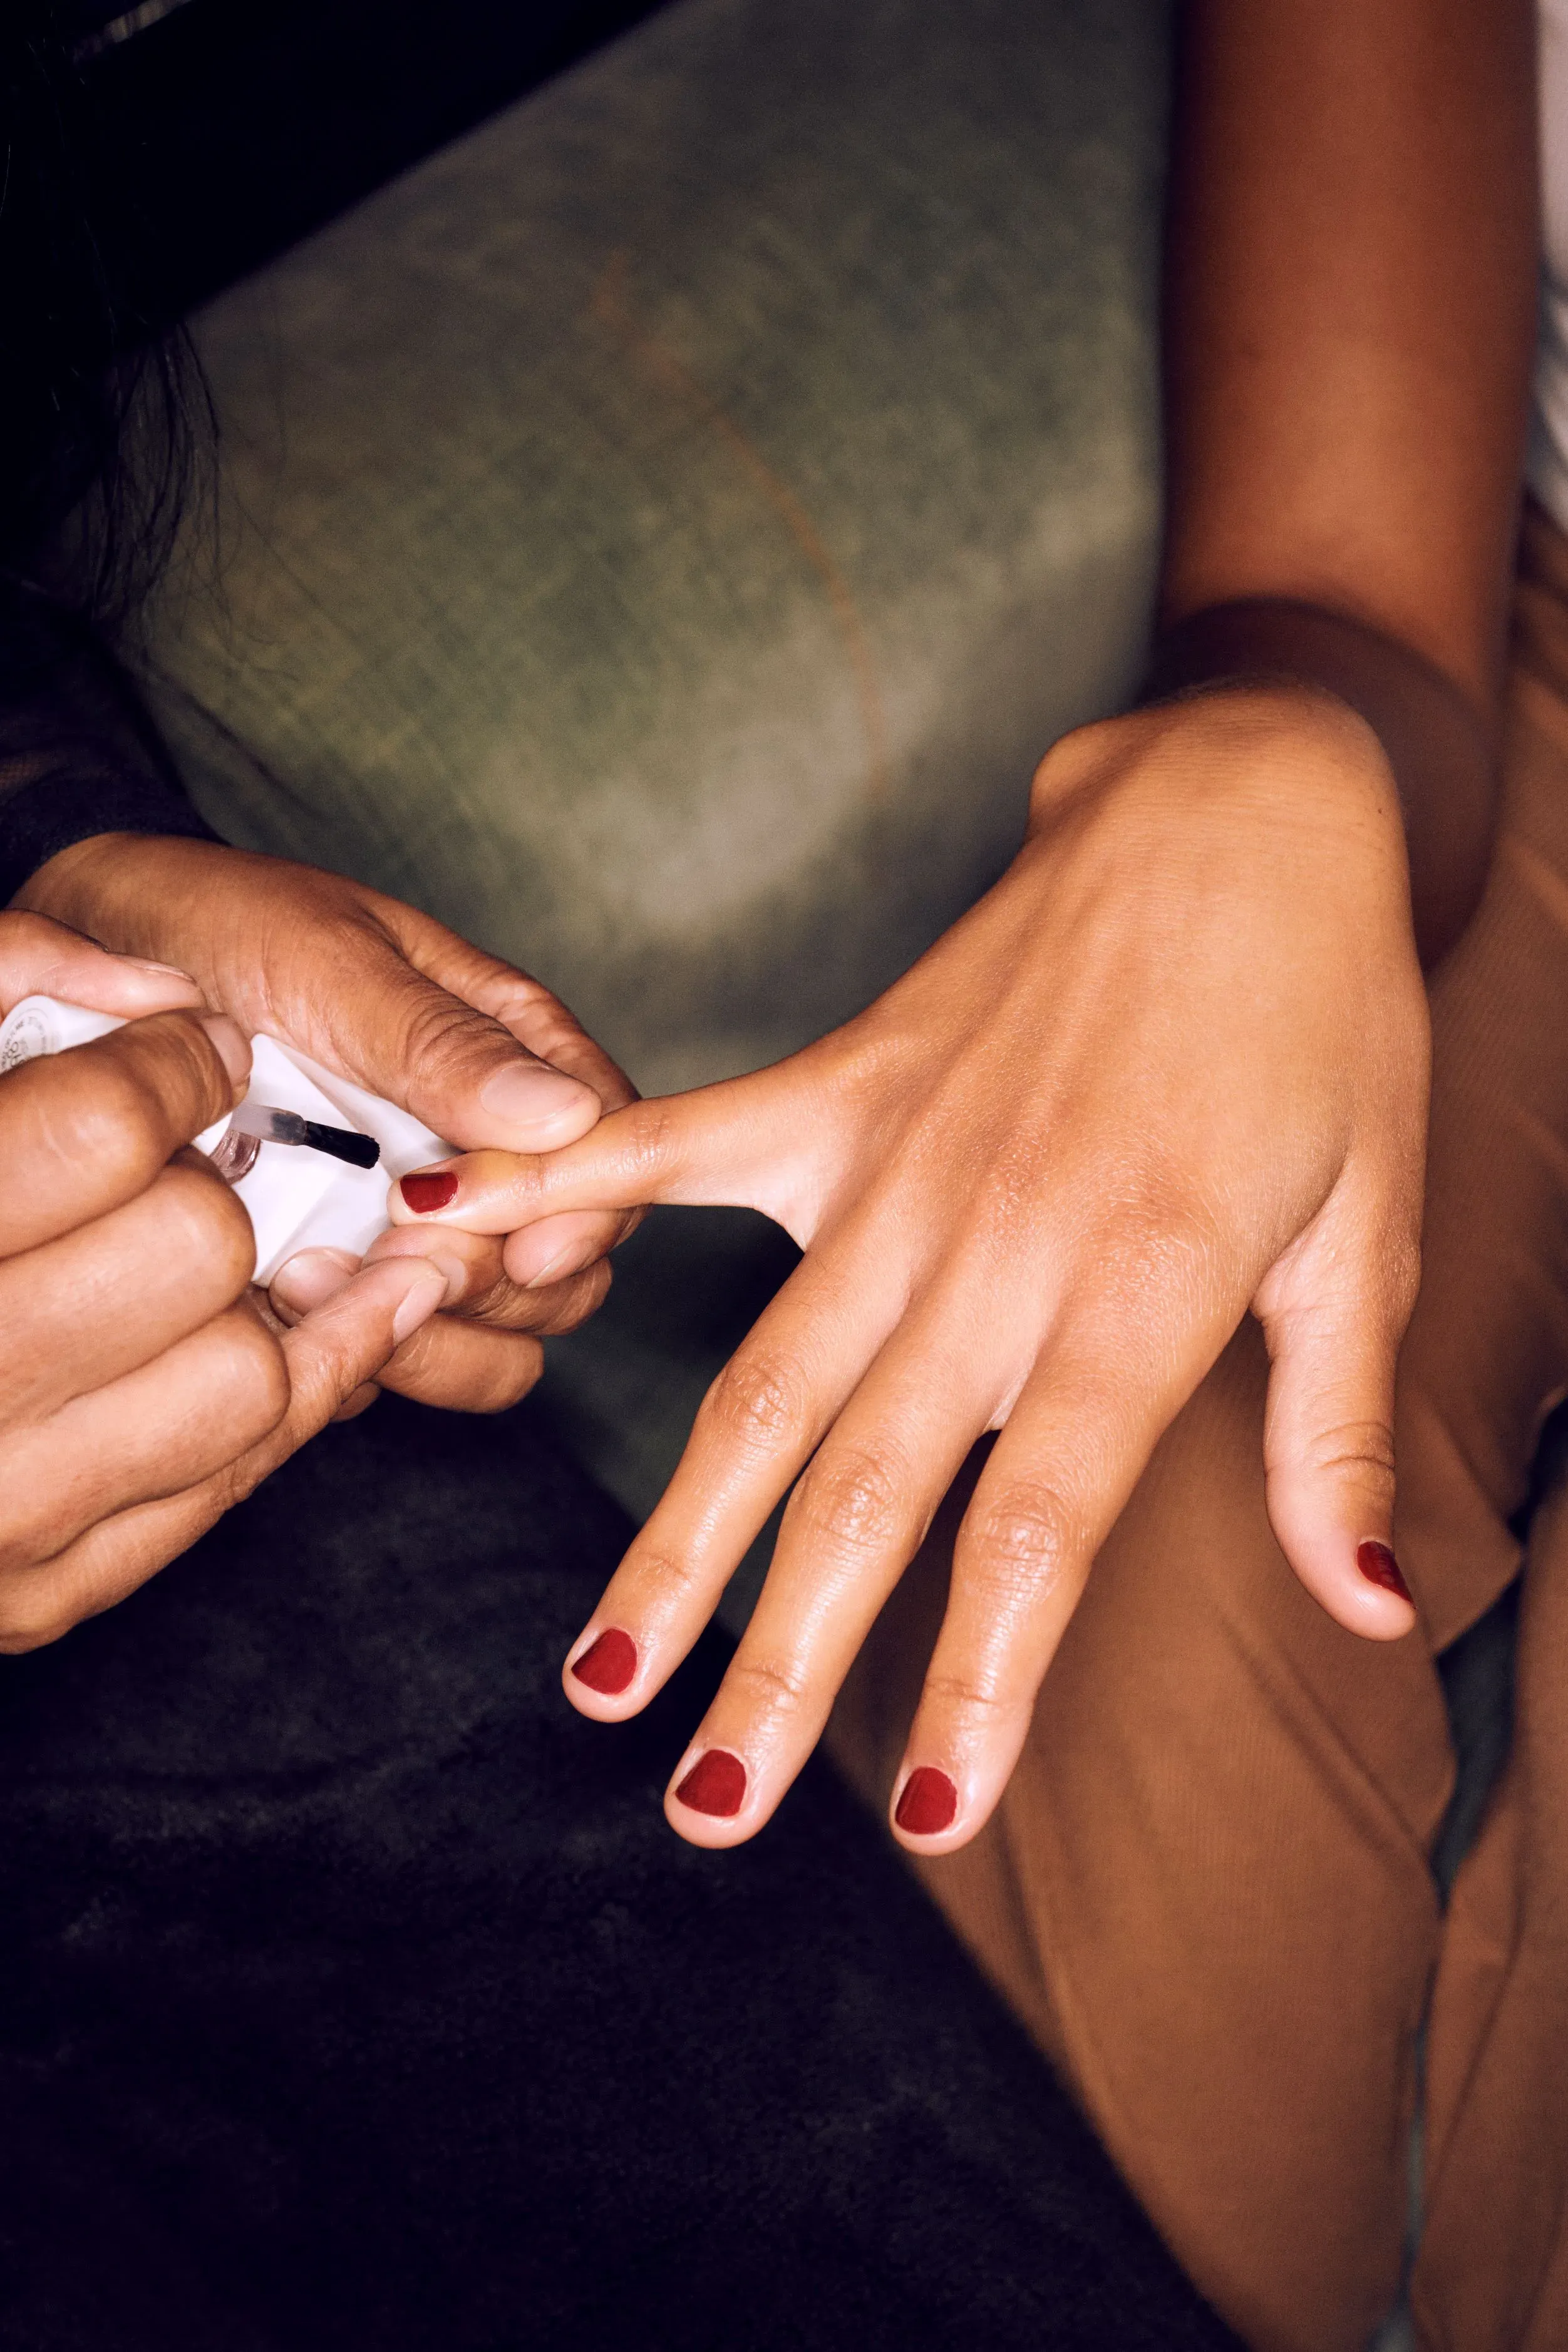
Step 8: Color Nail Polish Application Like a Pro
Nail polish application is most straightforward when you work methodically and patiently. Start with a good quality polish that’s not old or gloopy. When applying color, less is more. Wipe one side of the brush against the bottle’s neck to remove excess, and use the polish on the other side of the brush for your nail. Aim to cover each nail in two to three strokes per coat: one stroke down the center from cuticle to tip, then one on each side. This “3-stroke method” helps achieve even coverage without flooding your cuticles. It’s okay if the first coat looks a little streaky or thin.
Paint all nails with this thin first coat. Be sure to “cap” the free edge with color if your nails are long enough, as this can help prevent tip wear. By the time you finish the last nail, the first one might be ready for the second coat. However, if you see any obvious wet shine, give your nails another minute. A good rule of thumb is to wait about 2 minutes between coats. This brief pause helps avoid dragging the semi-wet polish and actually speeds up the total drying time.
Apply the second coat of color using the same technique: thin, even strokes. The second coat will make the color opaque and smooth out any streaks from the first coat. Two coats are usually perfect for most polishes, but if you’re using a very sheer color or want ultra-intense opacity, you can apply a third thin coat. Just remember, the thicker the overall polish layers, the longer it takes to dry and the more prone it could be to denting. So keep those coats as thin as you can while still covering the nail.
Ready to book your next appointment?
Book NowStep 9: Seal with a Top Coat
After your color polish has set for a minute or two, it’s time to lock it in. Apply a layer of clear top coat to each nail. The top coat is what gives your manicure that salon-like gloss and helps salon-quality nails stay chip-free longer. Just like with color, don’t apply it too thickly. Use a medium amount and gently float the brush over the nail so you don’t drag the color. Also, cap the free edge with a top coat to seal the end of the layers.
A good top coat does more than just add shine; it forms a protective barrier against scratches and chips. For best durability, use a regular top coat if you can spare the drying time. Traditional top coats often create a harder, longer-lasting shield on your manicure compared to ultra-fast-dry formulas. Fast-drying top coats trade a bit of longevity for speed.
Step 10: Clean Up Edges and Let Your Nails Dry
While you’re waiting for the polish to dry, it’s a perfect time to do a bit of cleanup around the edges. Even professionals sometimes get a little polish on the skin. To clean it, take a small, angled makeup brush dipped in nail polish remover. Gently run it along the cuticle line and side walls of each nail to wipe away any stray polish. This trick can make your manicure look super neat and professional. If you don’t have a brush, an orange stick wrapped in a tiny bit of cotton and dipped in remover can work as well. Just be careful not to touch the nail itself and ruin your fresh paint.
Step 11: Moisturize and Maintain Your Nails
The final step to a truly flawless at-home manicure is to moisturize and maintain. Once your top coat is completely dry, wash your hands gently to remove any residual polish smell and pat them dry. Now, apply a nourishing cuticle oil or a rich hand cream. Focus on the skin around your nails, which may have gotten dry from the polish remover and acetone. Massage the oil into your cuticles and the sides of your nails. This rehydrates the area and keeps your skin supple, which in turn helps your manicure last without the cuticles becoming ragged. Many top manicurists claim that daily cuticle oil is their number one secret to easy nail care and long-lasting manicures.
Additional Tips and Nail Care Routine
- Stick to a schedule: Aim to give yourself a manicure about once a week or once every two weeks, depending on how fast your nails grow and how well the polish lasts. Regular upkeep will keep your hands always looking groomed and allow you to address chips or overgrown cuticles promptly as part of your nail care routine.
- Alternate with polish-free weeks: Every now and then, consider taking a break from nail polish for a few days to focus on nail health. During this time, keep applying cuticle oil and perhaps a coat of clear nail strengthener. This acts as a restorative period for your nails.
- Watch for problems: Pay attention to any signs of nail issues like white spots, severe ridges, or discoloration. These could be due to using too-strong chemicals or could indicate a need for a nourishing nail treatment.
- Protect your hands: Sun, detergents, and cold weather can all dry out your skin and nails. Use hand cream regularly and consider a product with SPF on the backs of your hands during the day to protect your skin. Healthy nails go hand-in-hand with healthy skin.
- Get creative with design: Experiment with nail care and design trends to express your unique style. Maybe add an accent nail in a glitter polish, try easy stick-on nail art, or do a French manicure tip. You’ll find that with a solid foundation, even fun designs will look more professional. There are countless resources and tutorials for simple nail art that can elevate your manicure when you feel adventurous.
- Know when to call a pro: While an at-home routine can handle regular maintenance, don’t hesitate to consult a professional nail artist for weddings or for big events. For example, removing acrylics or gels is sometimes best done at a salon to avoid damage. And if you ever want complex art or just to treat yourself, a session with a skilled nail technician can be a nice treat. You can always return to your DIY manicure tips afterward, with perhaps a few new tricks you’ve learned from watching the pros.
By incorporating these practices into your routine, you’ll ensure your nails stay strong and beautiful. A bit of daily care goes a long way in keeping that manicure looking fresh.
Achieving a flawless manicure at home is absolutely within reach. It comes down to prep, technique, and a little patience. By following this step-by-step guide, you’ve learned how to file and shape properly, care for your cuticles safely, and paint like a steady-handed pro. The result is a set of glossy, gorgeous nails that you can proudly say you did on your own. With time, your skills will only improve, and your confidence in DIY nail care will grow.
Sources
- shape.com – DIY Salon-Quality Manicure at Home (expert tips on doing a salon-quality manicure yourself)
- allure.com Allure – Waterless Manicure Trend (why skipping the pre-manicure soak can make your polish last longer)
- healthcare.utah.edu University of Utah Health – The Danger of Cutting Your Cuticles (dermatologist advice against cutting cuticles due to infection risk)
- aad.orgAmerican Academy of Dermatology – Tips for Healthy Nails (don’t bite nails or pick cuticles; avoid using nails as tools and protect them to prevent damage)